CREATING SECTIONS
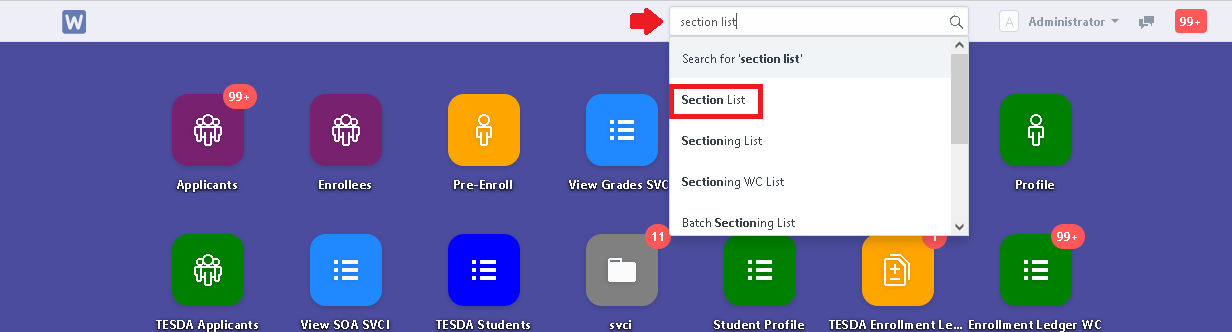
Step 1. In search bar, search for "Section List".
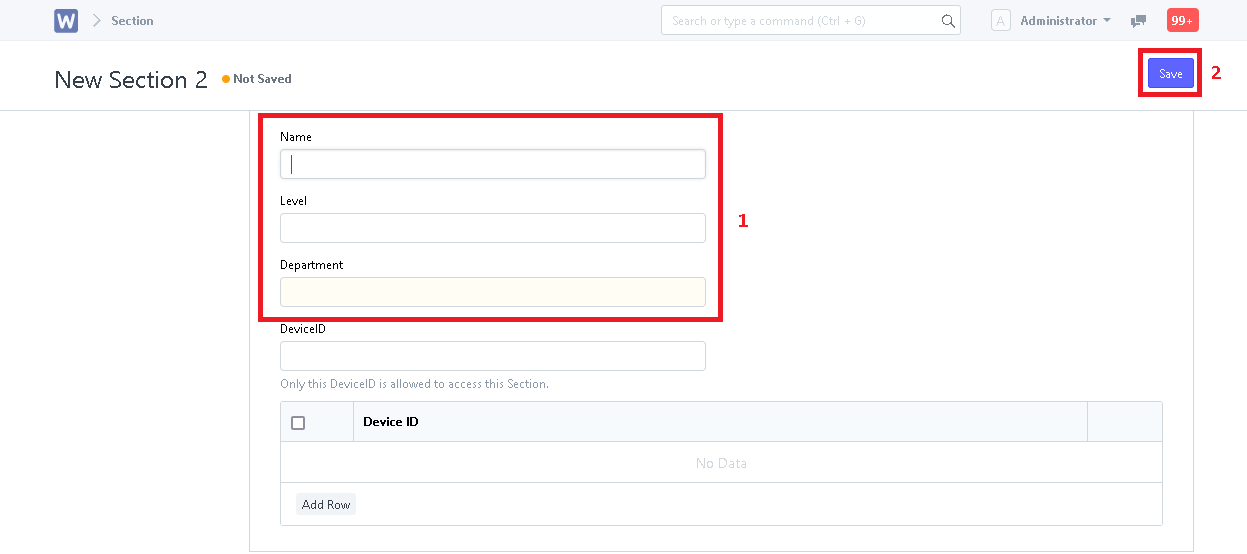
Step 2. Click "New".

Step 3. Input the section's Name, Level and Department. Then click "Save".
SETTING UP CLASS LIST
Step 1. In search bar, search for "Class List".
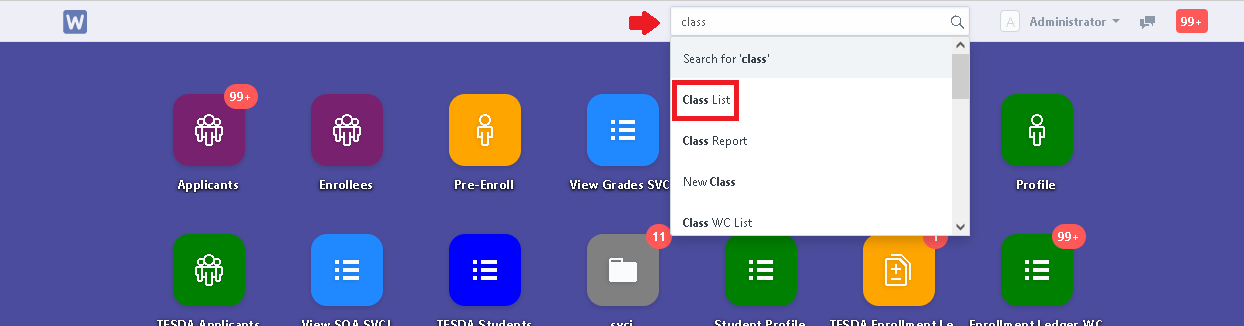
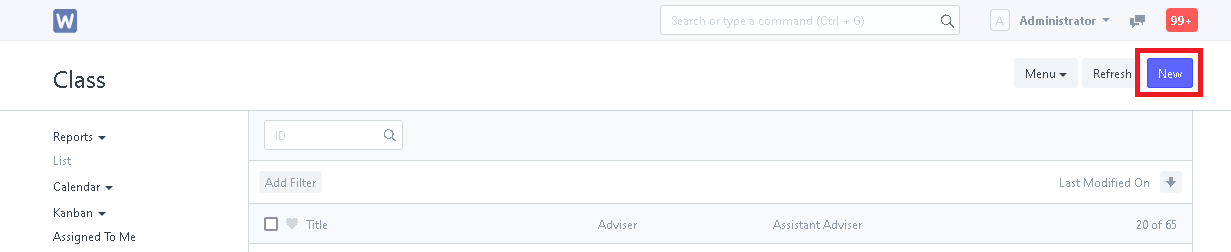
Step 2. Click "New".
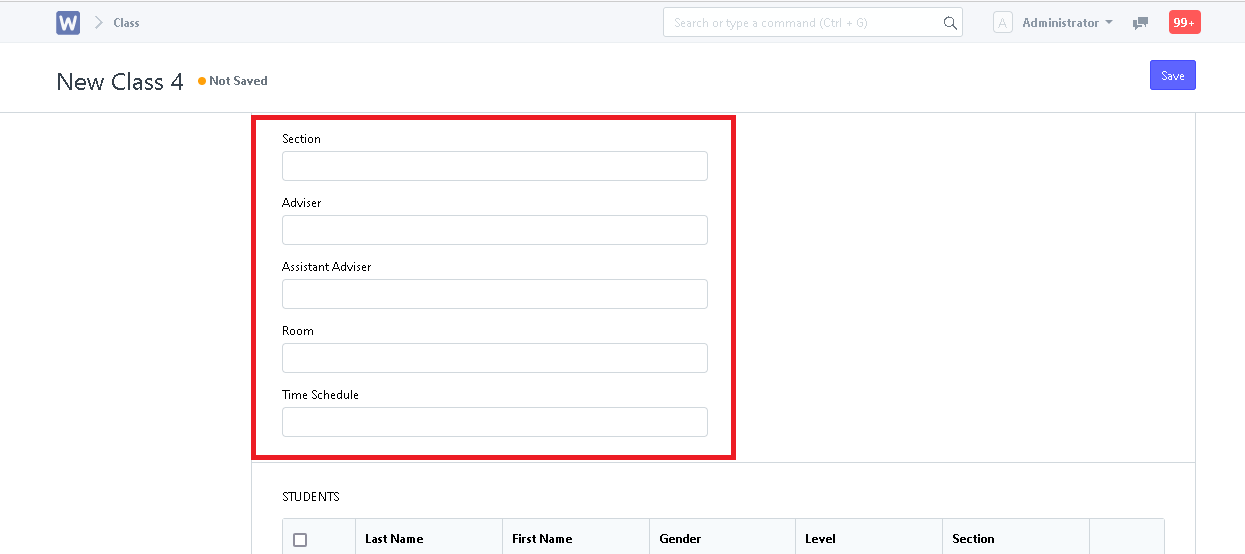
Step 3. Input the necessary details of the class/section.
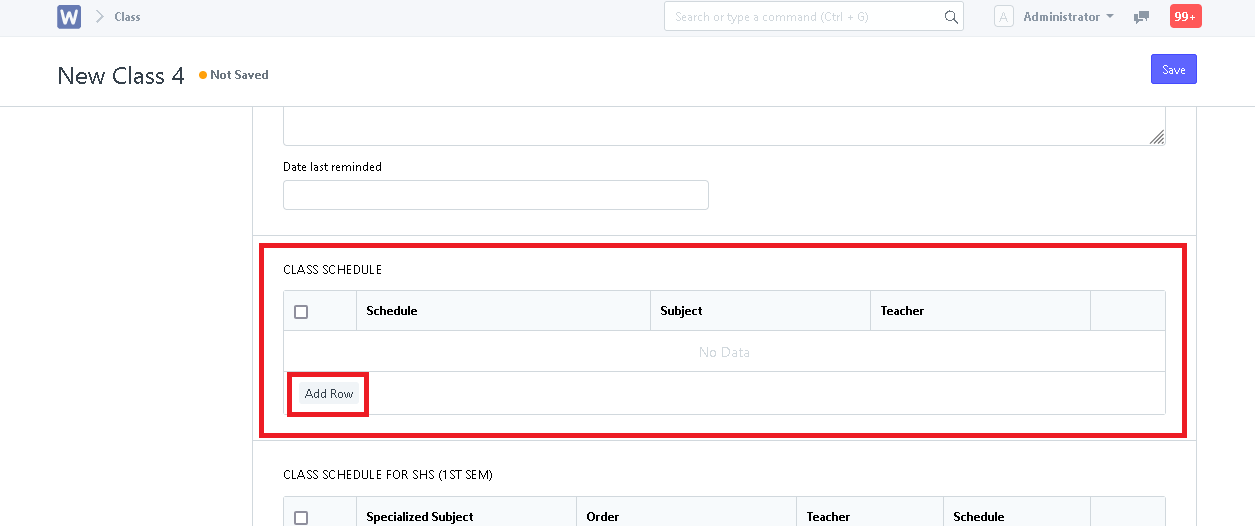
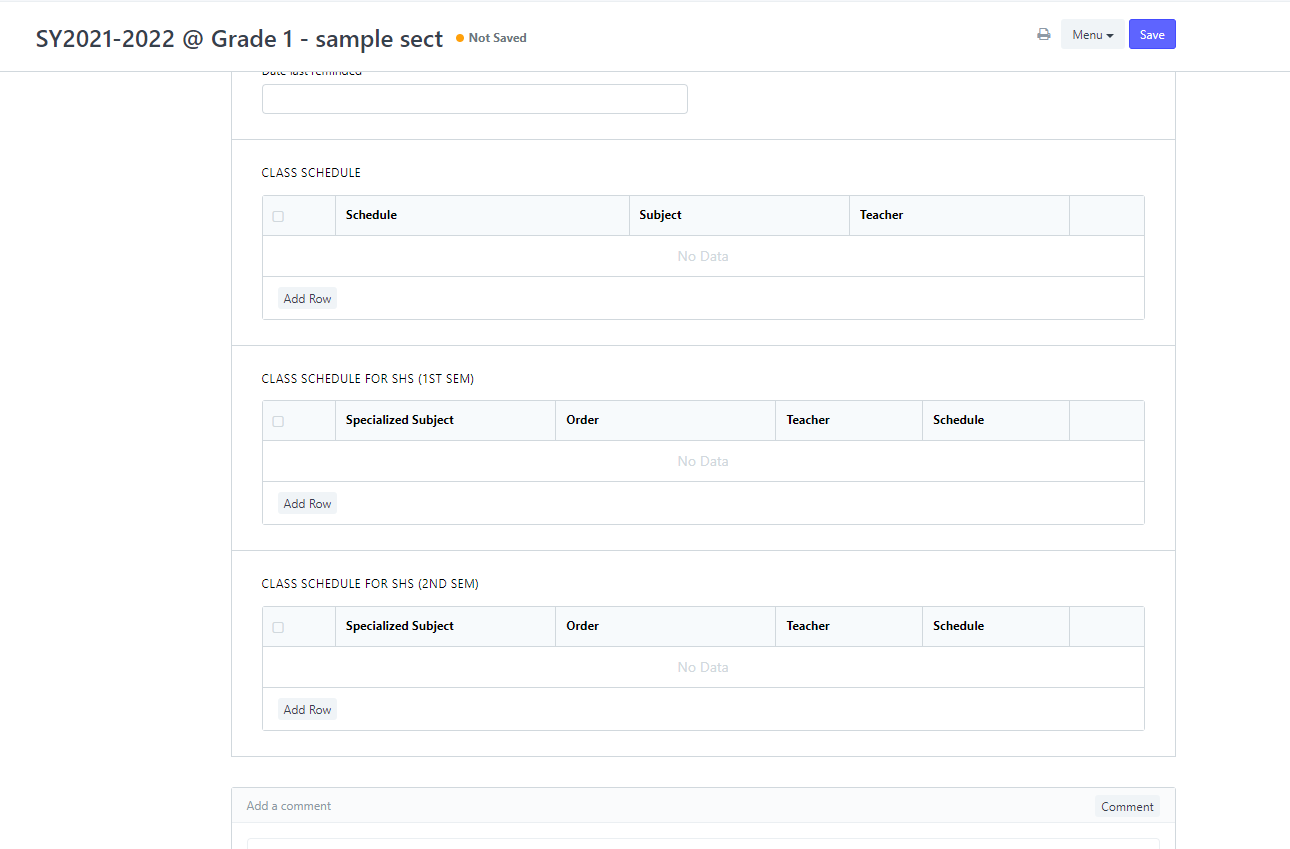
Step 4. Input the class schedule for the class. Click the "Add Row" button to add rows for the input of each subject and its details.
- For K-10:
- For SHS
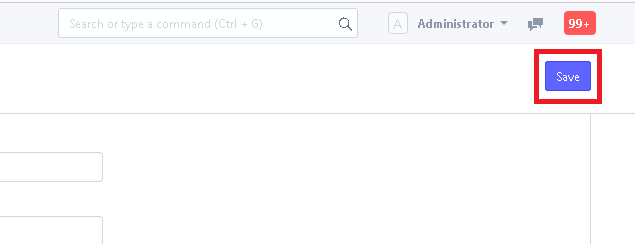
Step 5. After editing, click "Save".
SECTIONING THE STUDENTS
Kindly refer to this manual for the steps: https://rmidoc.wela.ph/how-to-section-students-using-batch-sectioning-k-12/
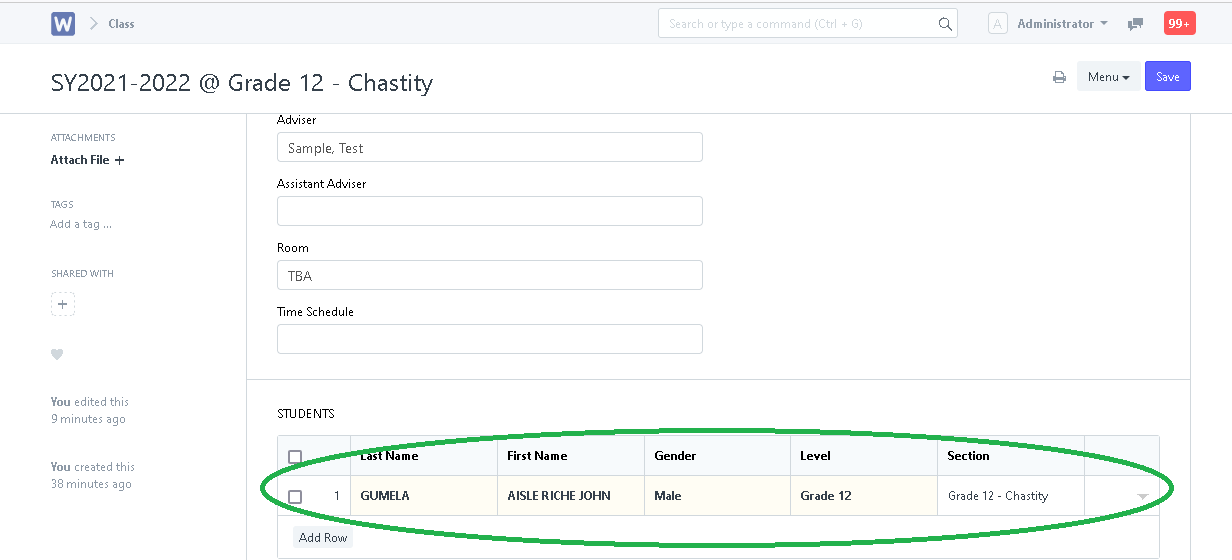
UPDATING THE CLASS IN CLASS LIST
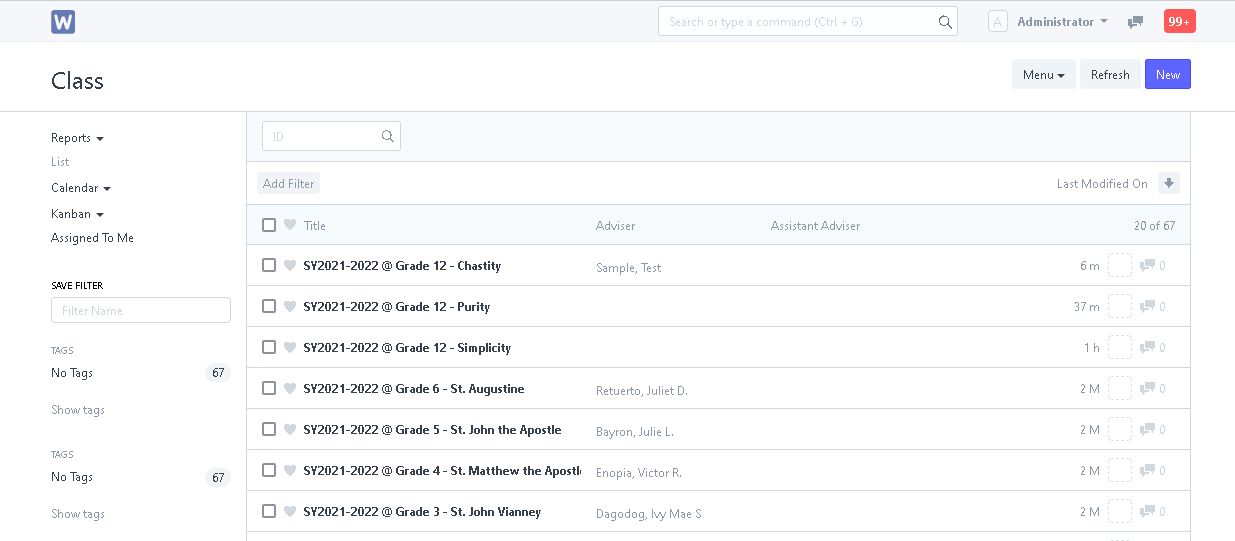
Step 1. To update the newly sectioned student from batch sectioning, go to "Class List" and open the section to be updated.
Step 2. Click the "Menu" button and select "Reload".
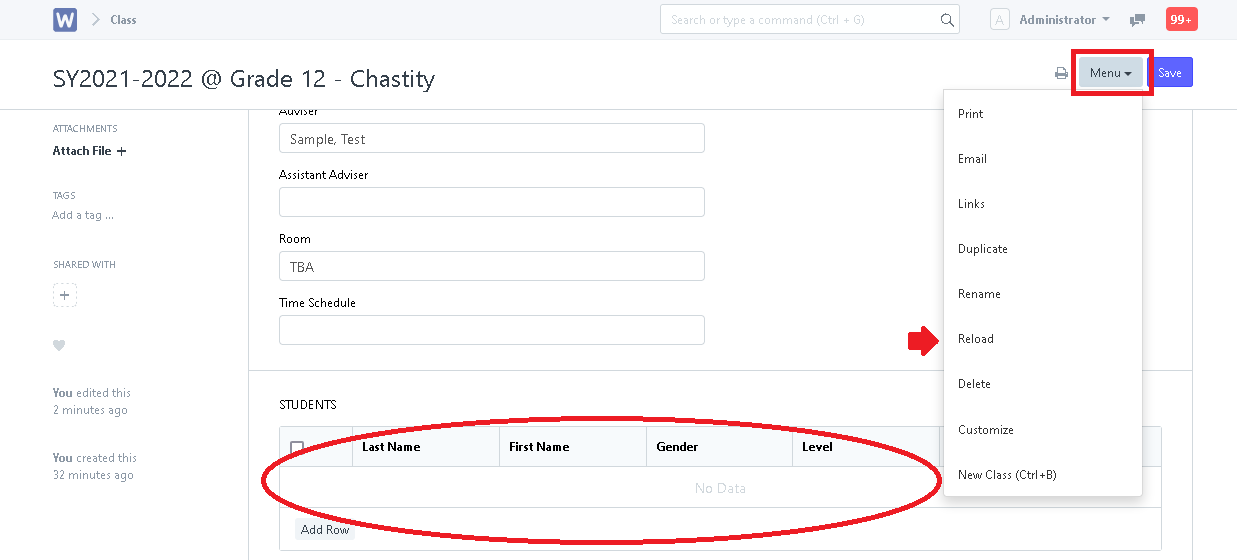
Sectioned student for this class will now appear!