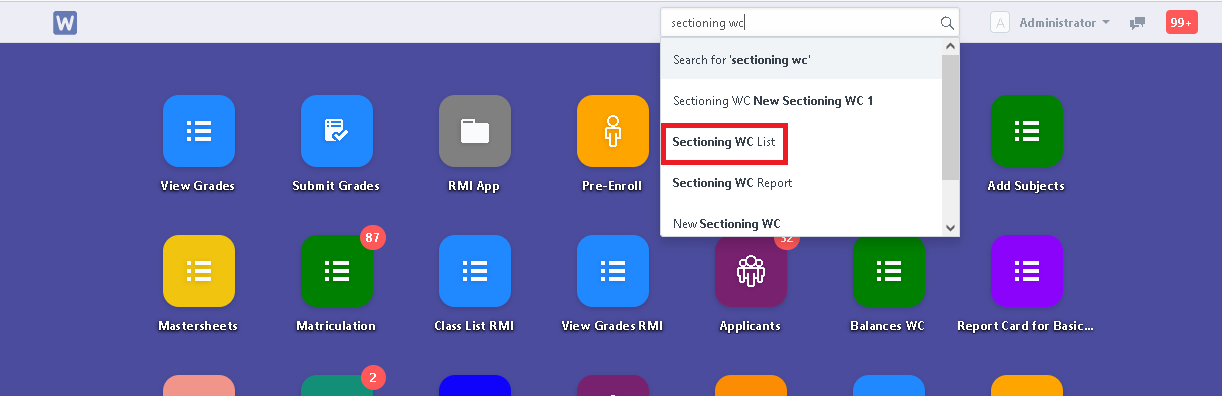
Step 1. Search for "Sectioning WC List" in the the search bar.
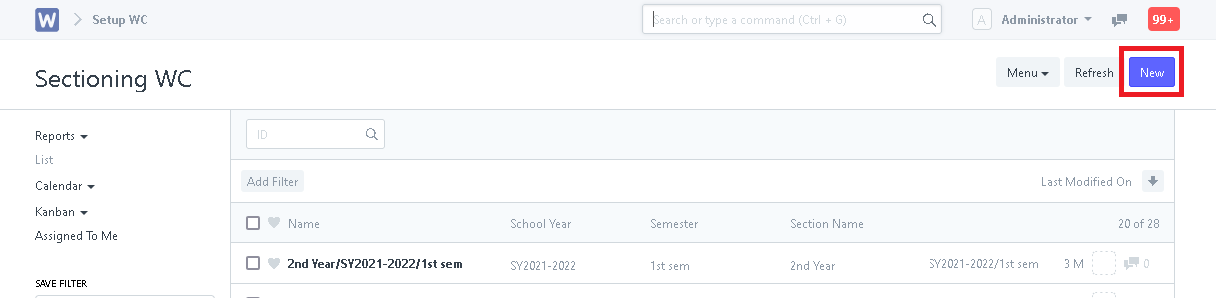
Step 2. Click "New".
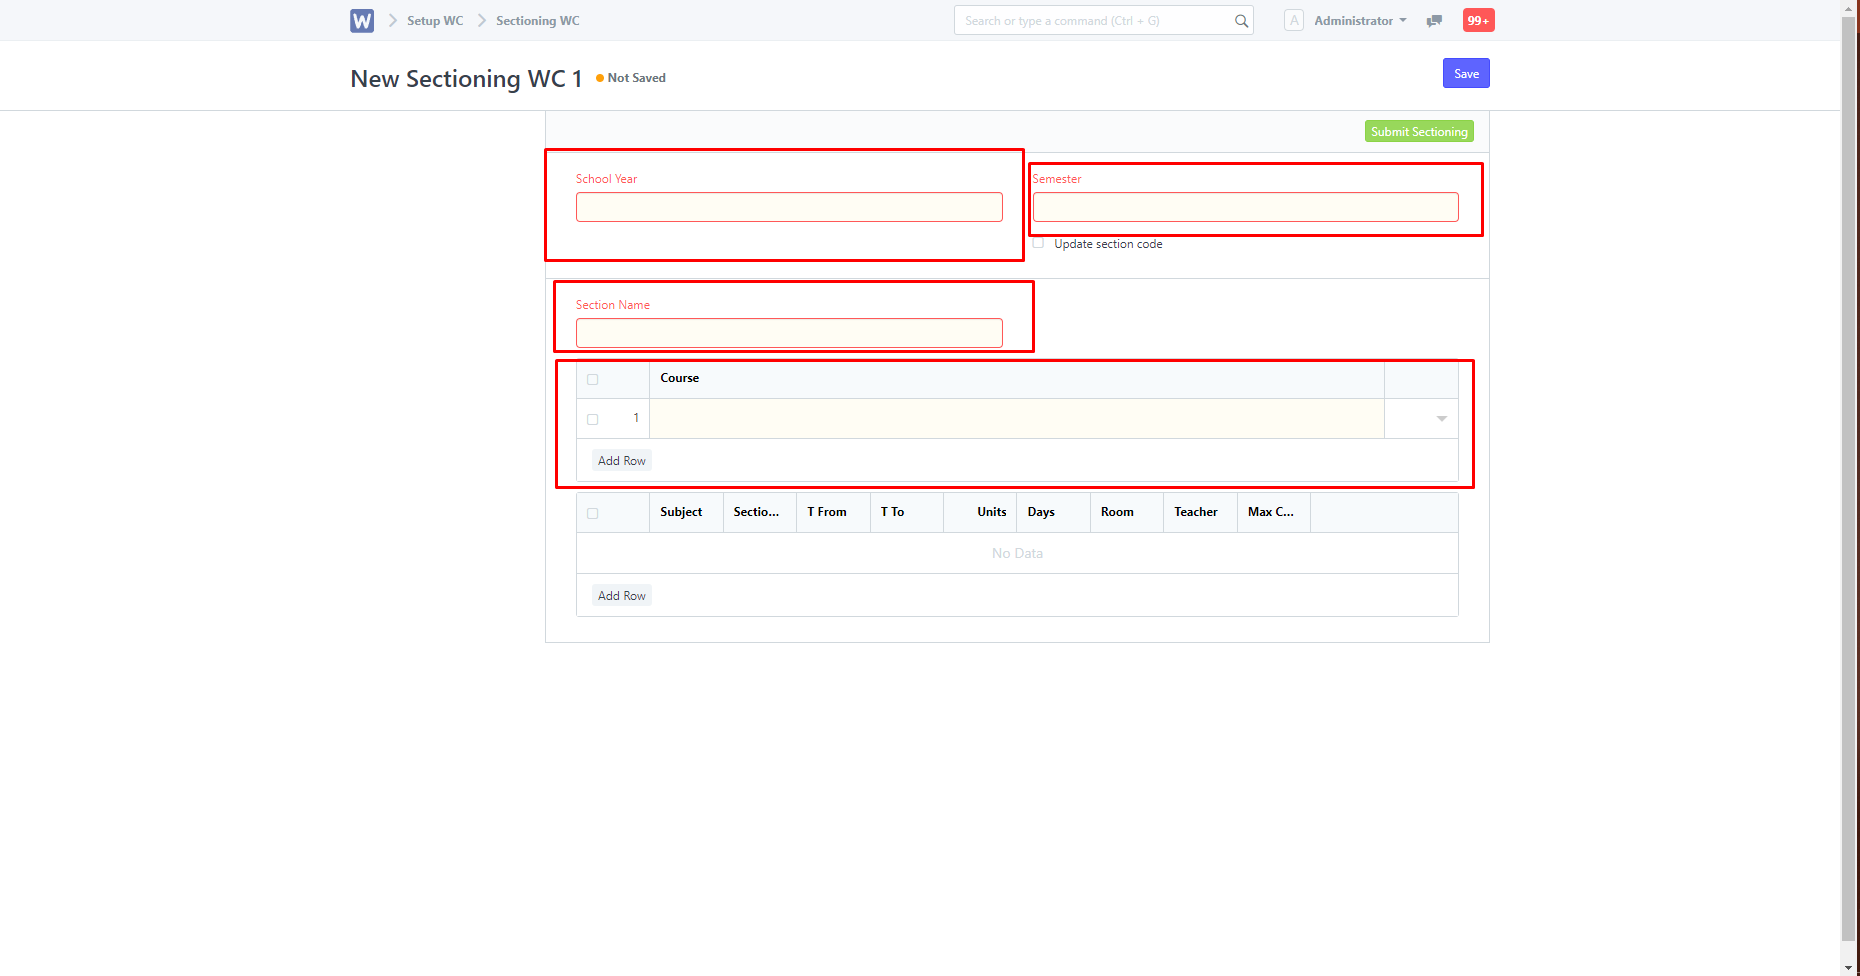
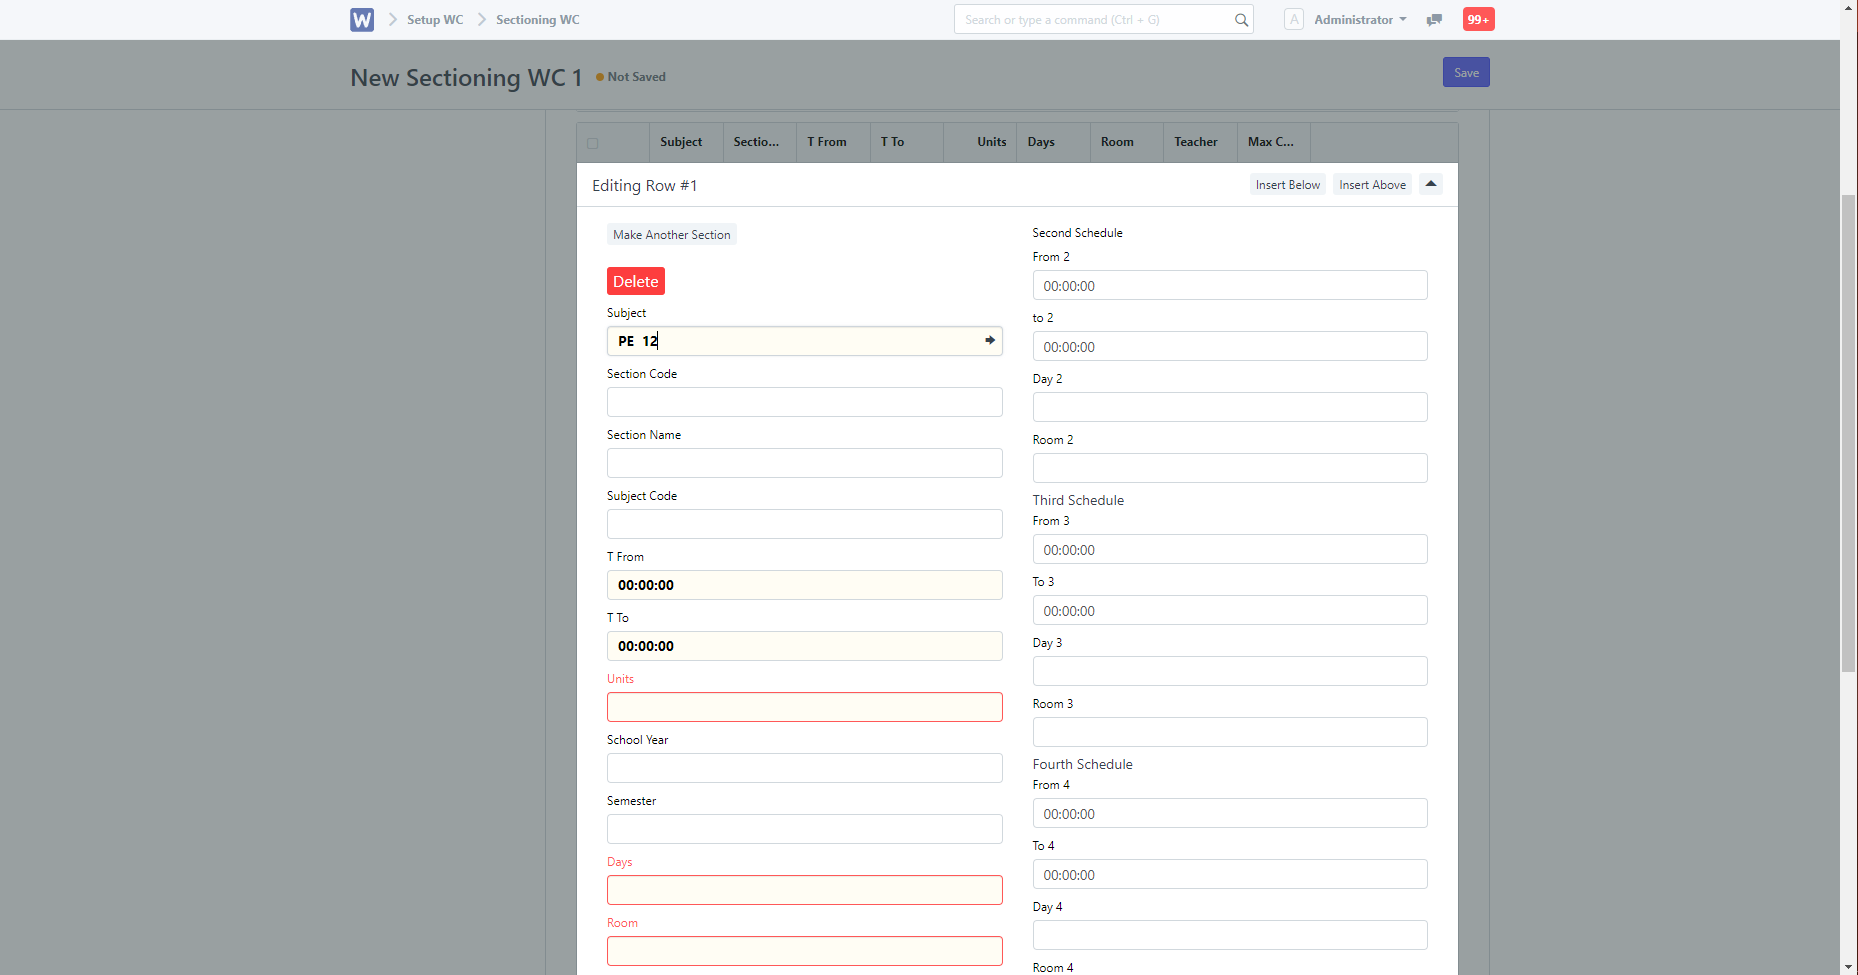
Step 3. Enter in the details. (Note: Mandatory inputs/fields are highlighted as red)
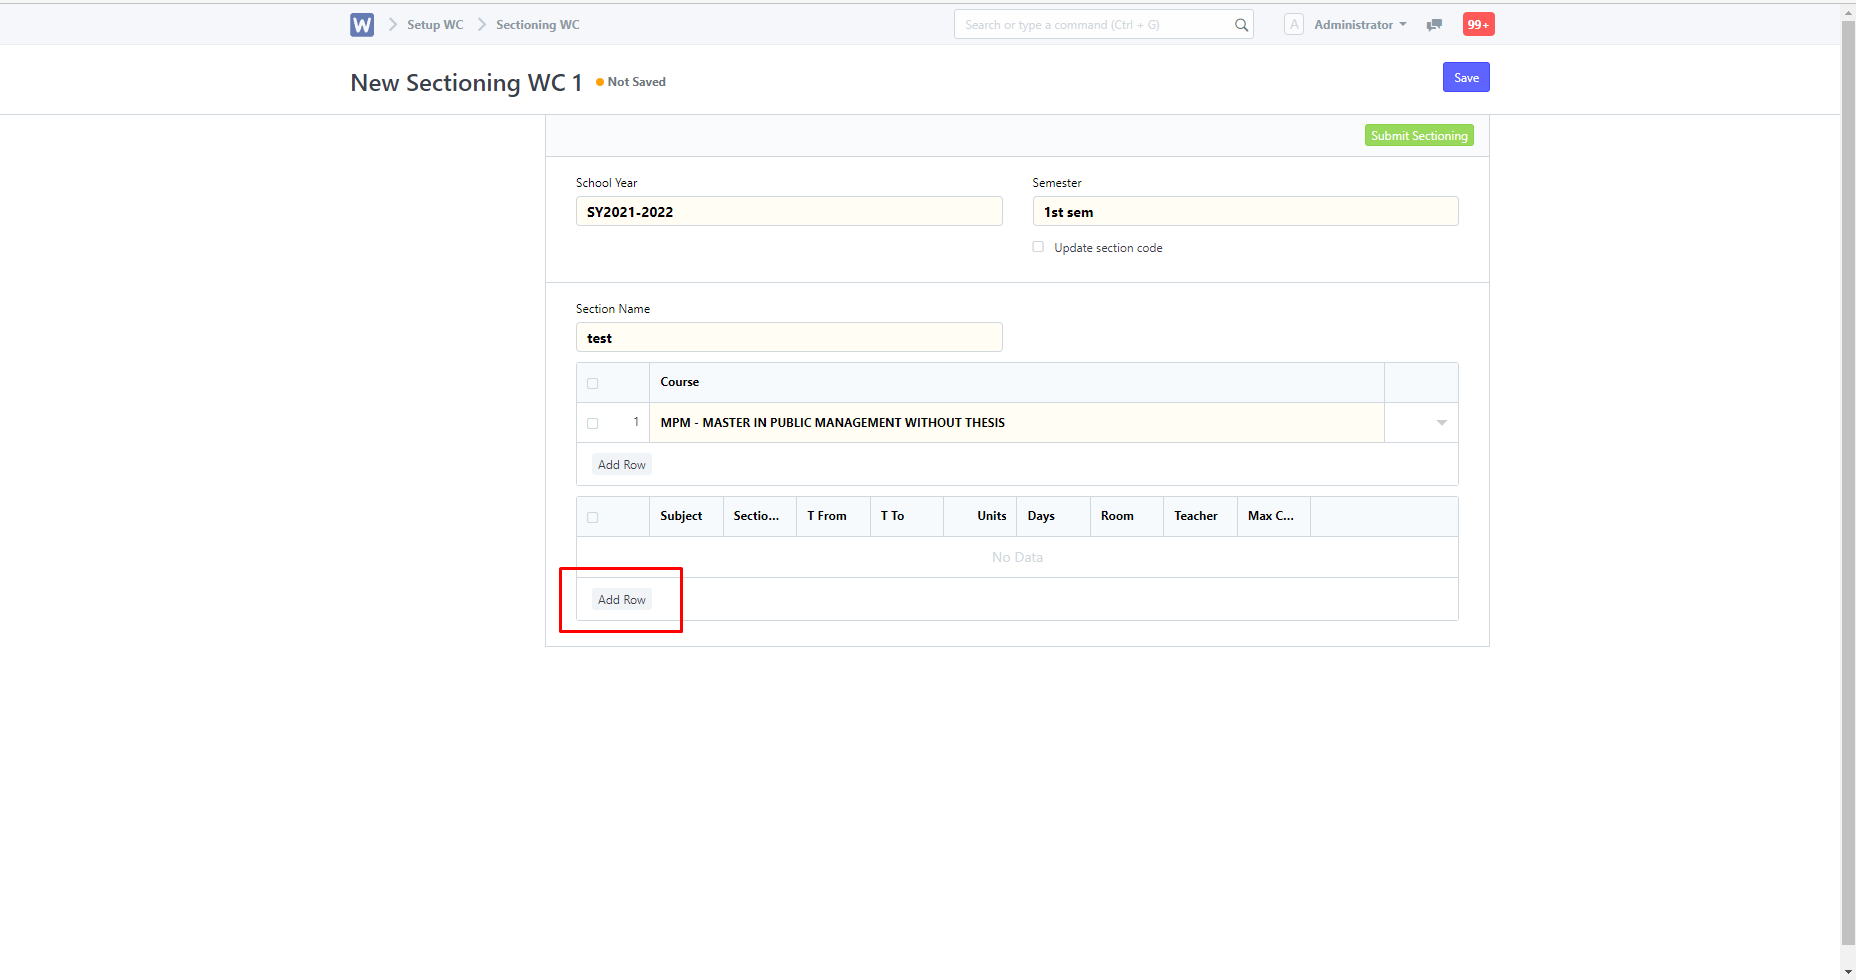
Step 4. To add schedules, click the "Add Row" button as seen in the picture below.
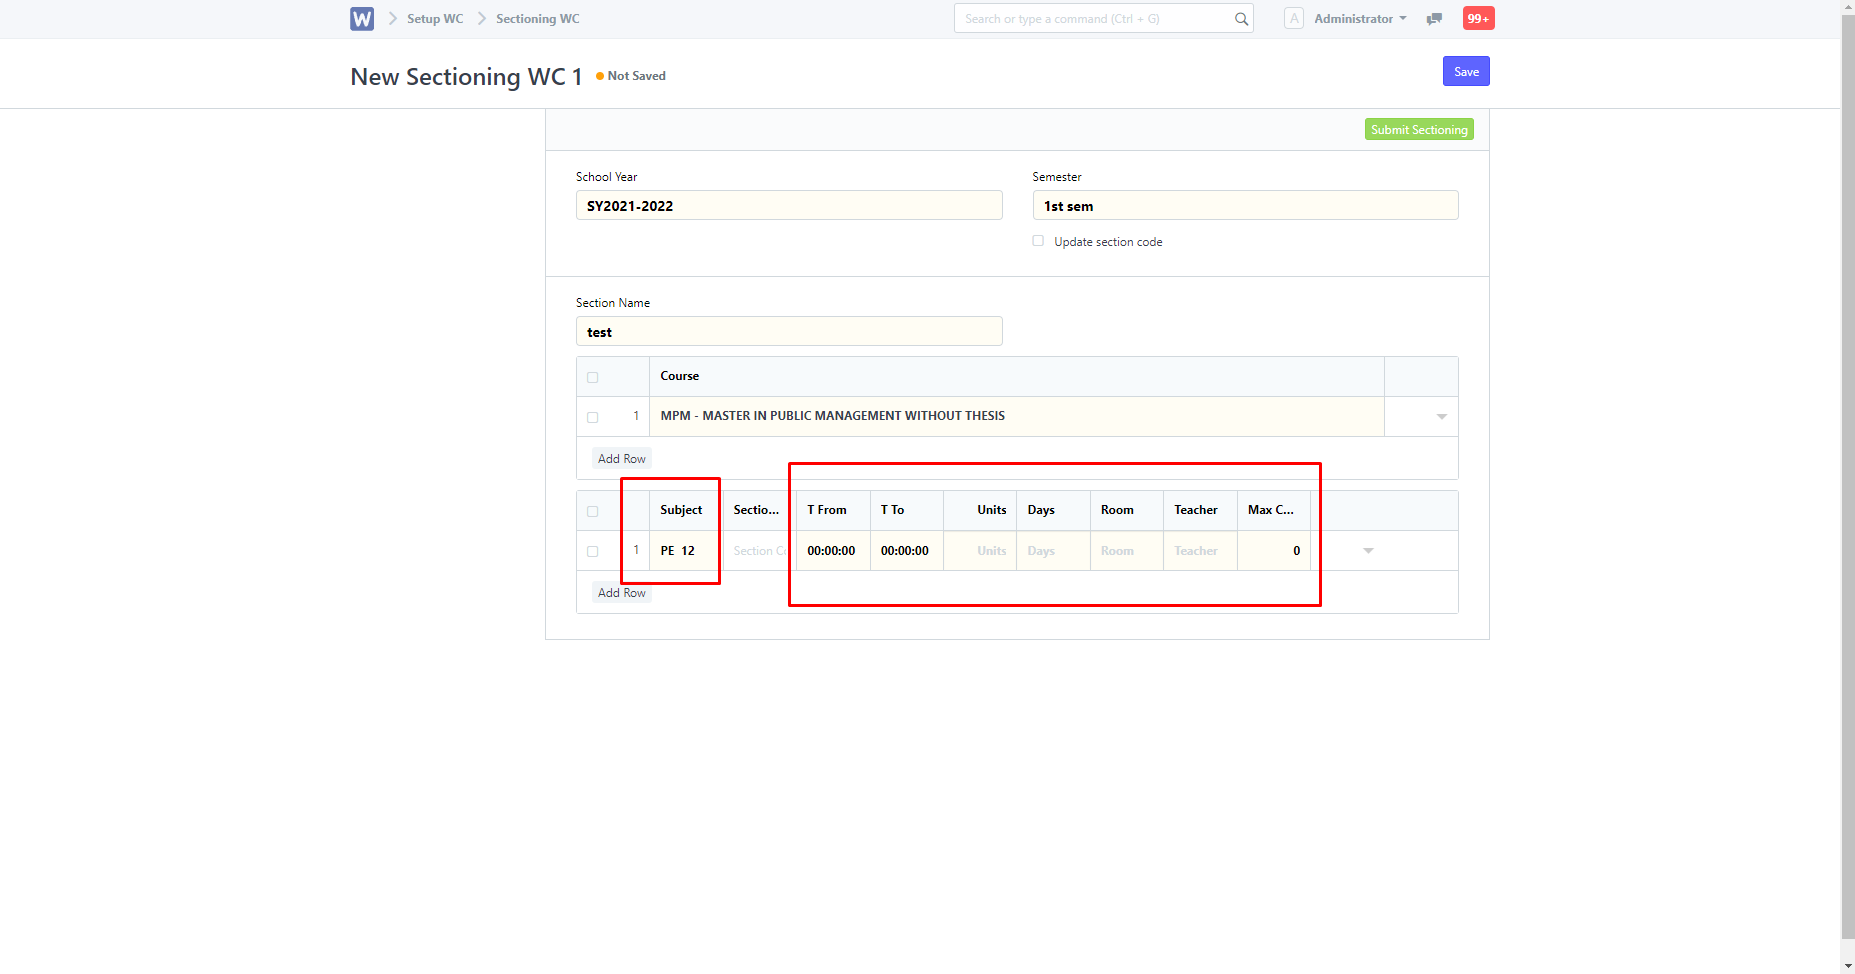
- You can then choose which subject to add schedules to in the "Subject" column. After selecting the subject, you can now change its schedule.
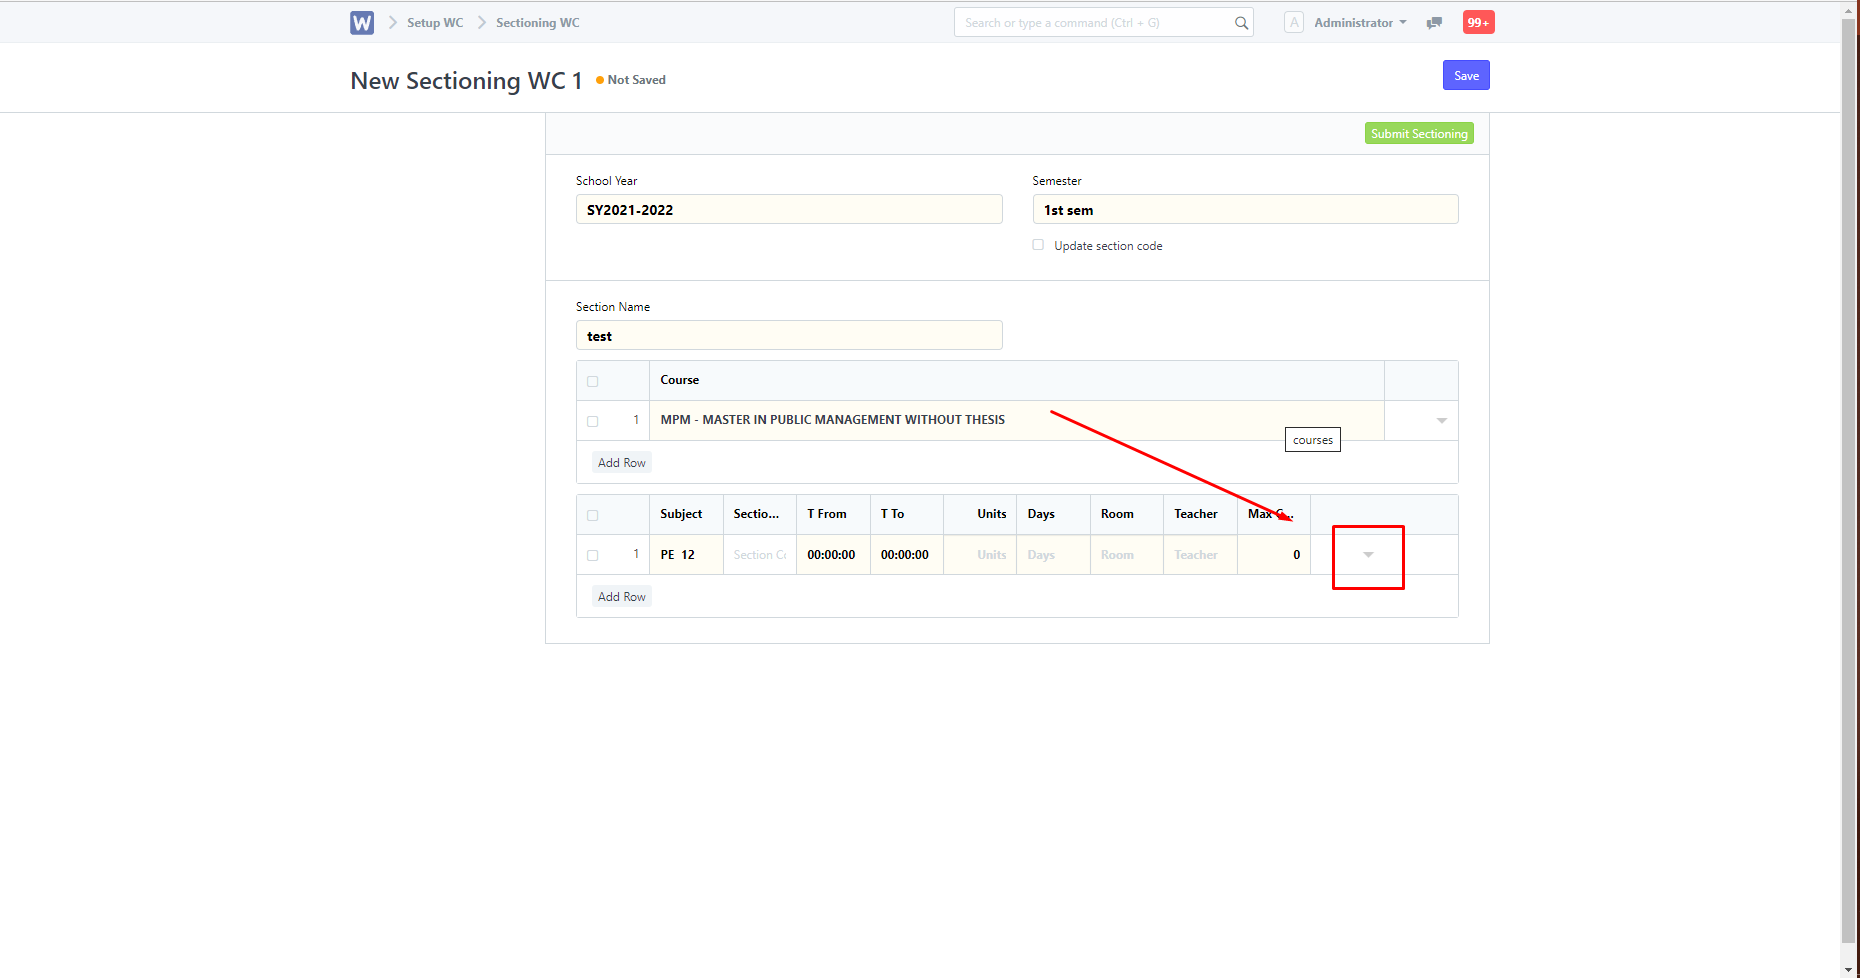
- Clicking the drop down button along the row of the subject to be scheduled will give you a more detailed view.
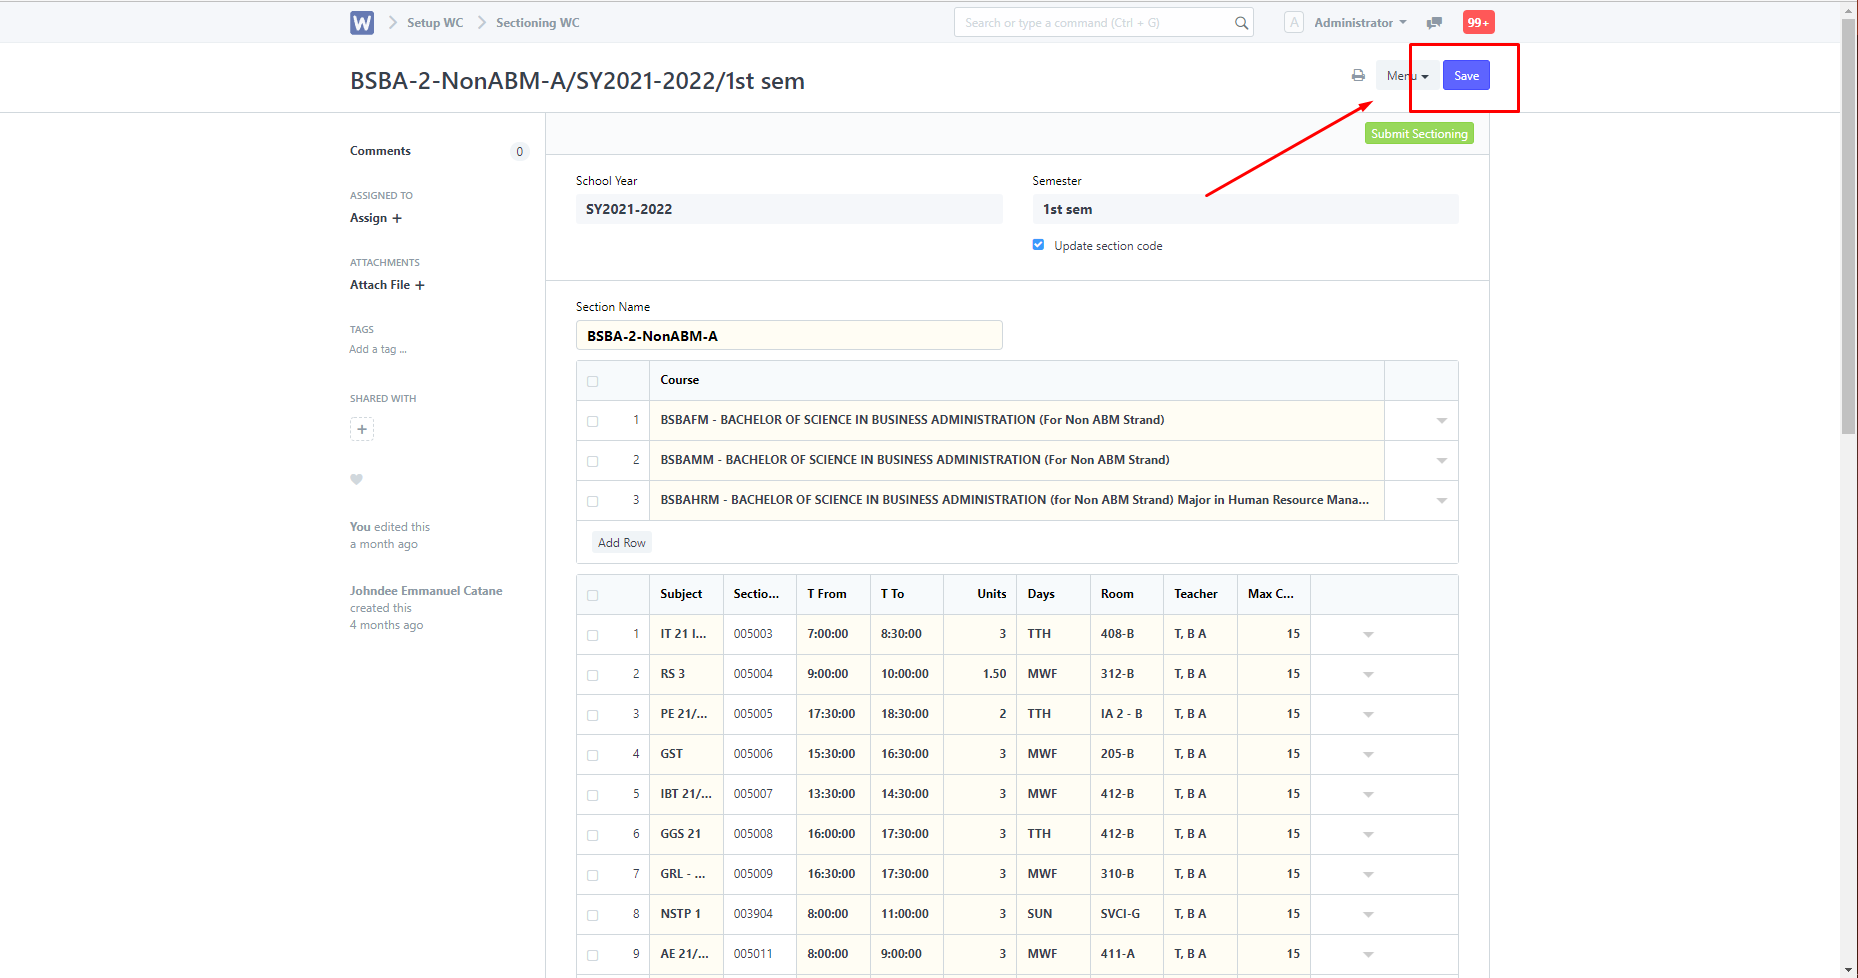
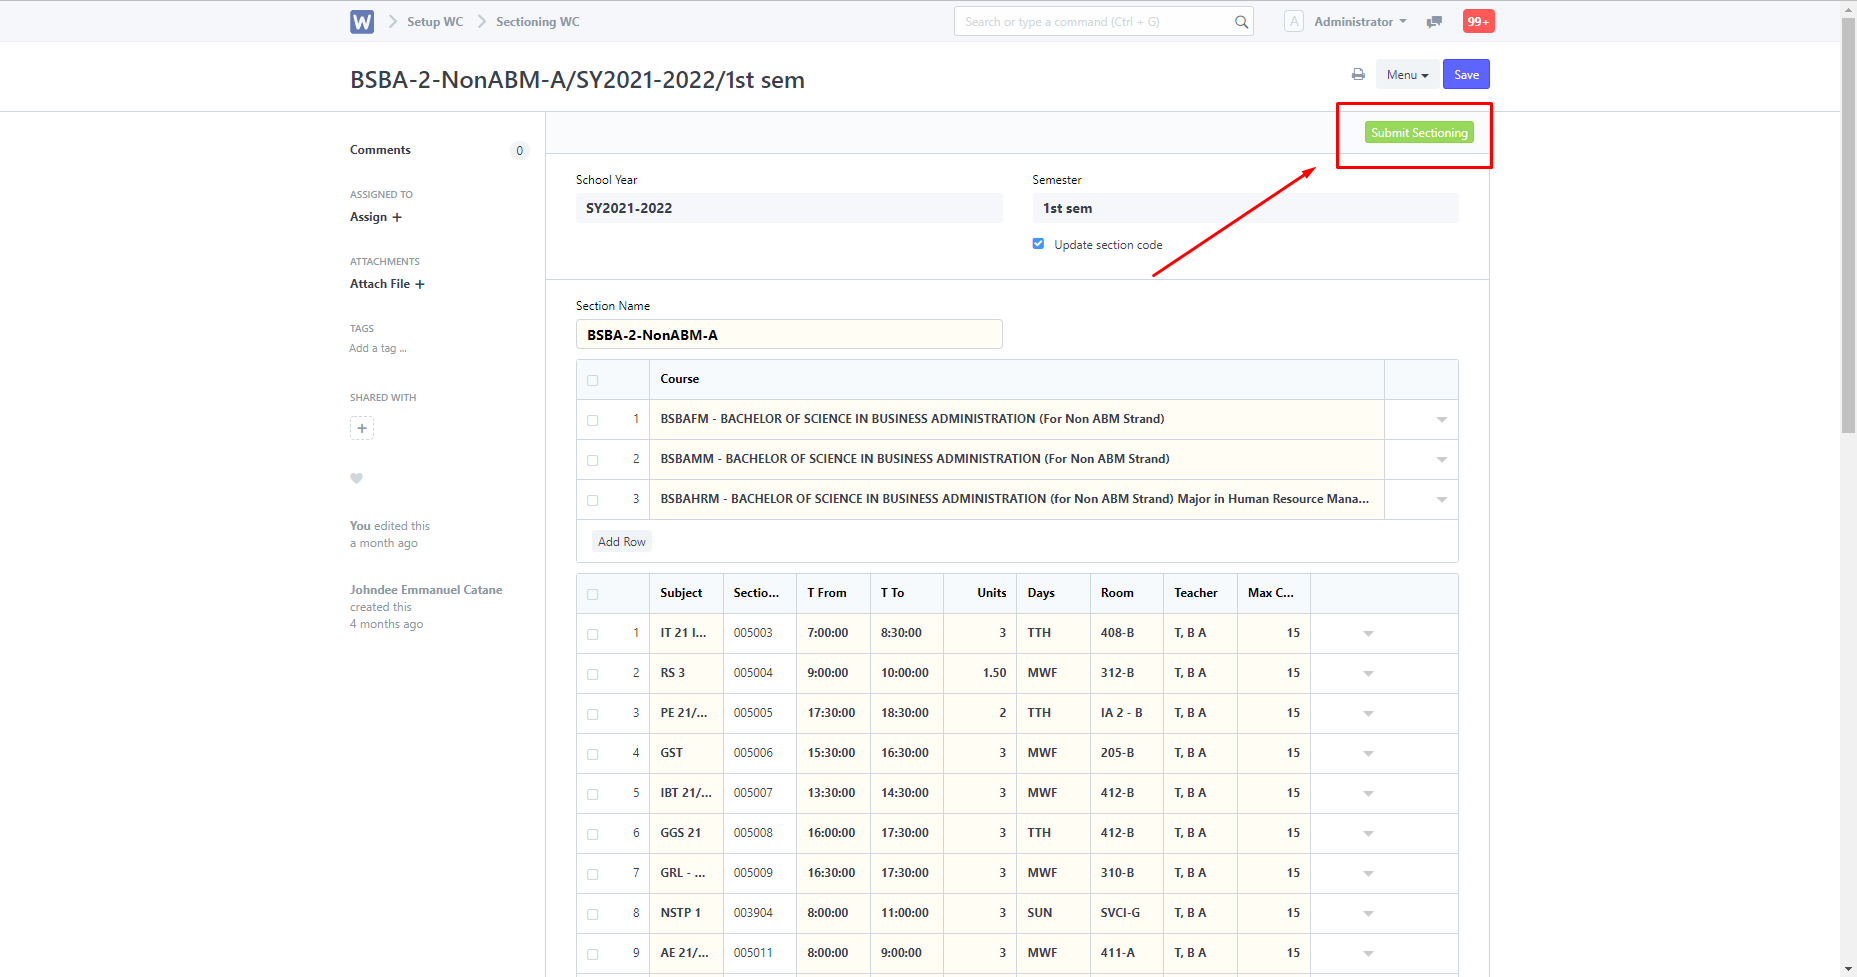
Step 5. Once done you must click the "Save" button, and then click "Submit Sectioning".